Welcome to the BloonsGuide.com guide to conquering Cubism on CHIMPS difficulty in Bloons TD 6!
Best of all: this guide requires no Monkey Knowledge, only 4 towers, and almost 0 micromanagement.
Throughout this guide, you'll learn both how to beat Cubism on CHIMPS difficulty and learn a few basic tips and strategies you can use on any map to consistently tackle CHIMPS difficulty elsewhere.
Note: This guide was recorded on BTD6 Patch 40. If you find this guide no longer works, please let us know!
Let's get started.
The Final Build
If you'd like to see the final Cubism CHIMPS build now and reverse engineer it yourself, here's a screenshot along with the list of towers used in this guide:

- Sauda (Hero)
- Wizard Monkey
- Monkey Ace
- Spike Factory
Early Game & Starting Towers
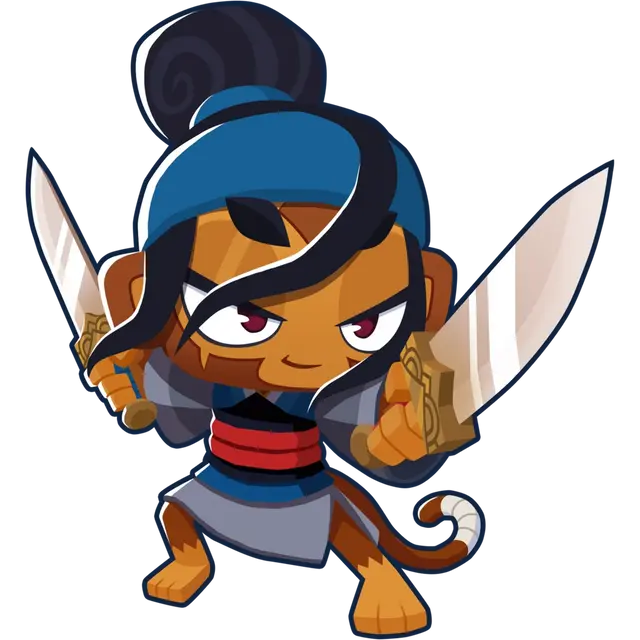
In classic BloonsGuide.com fashion, our hero for this run will be the hero Sauda.

With a calm fury, Sauda can carve Bloons up with her twin razor-sharp swords.

$5,000
Start by placing Sauda within the first orange triangle towards the middle of the map:

Sauda is able to solo many of the early rounds for us, so we'll wait until after Round 19 before placing our next tower.
After Round 19 - Before Round 20
Before Round 20 starts, place a Wizard Monkey to the bottom left of Sauda, ensuring you get as close as you can to the right side of the green triangle. Then, upgrade it to 0 / 2 / 2:

This placement allows the Wizard's Wall of Fire to be placed directly in the middle intersection of the map, giving it multiple chances to hit Bloons as they loop back towards the center of the map.
The Wizard will carry us for most of the game. We'll upgrade the Wizard to Dragon's Breath later on, which pairs fantasically with Sauda's Level 11 damage upgrade. You'll learn more about this soon.
Now we wait!
Round 31
During Round 31, upgrade your Wizard Monkey to 0 / 3 / 2, or Dragon's Breath in the middle path.
Dragon's Breath is one of the best early abilities in the game, especially when paired with Sauda. Sauda's Level 11 damage upgrade gives her extra damage to "harmed" Bloons - i.e. bloons affected by any lingering on-bloon effects, such as speed inhibitors and/or damage-over-time - which Dragon's Breath is able to supply via a damage over time burn effect.
Dragon's Breath also deals insane amounts of damage by itself. When paired with the bottom path upgrade of Monkey Sense, it's able to target and quickly damage nearly any Bloon / MOAB in the game.
You'll see just how good this combo is in the coming rounds!
After Round 39 - Before Round 40
Before Round 40 begins, place a Spike Factory at the end of the map and upgrade it to 2 / 0 / 4, and set the targeting priority to 'Smart':

The only purpose of this placement at the moment is to build our way towards Perma-Spike later in the game (as well as to catch any Bloons that sneak past Sauda and the Wizard).
By setting the Targeting Priority to 'Smart,' we force the Spike Factory to stack its spikes in one pile at the very end of the track. This will allow us to build a giant Perma-Spike pile later in the game, which can easily handle entire rounds of MOABs and DDTs on its own.
Fun note: we recently tested Perma-Spike's strength on Patch 40, and it was able to pop 45 DDTs when buffed by a 4 / 2 / 0 Alchemist, and it still had plenty of spike piles to go!
The Sauda / Wizard combo can handle the Round 40 MOAB with ease.
Round 58
At the start of Round 58, upgrade your Spike Factory to 2 / 0 / 5, or Perma-Spike in the bottom path.
In our opinion, Perma-Spike is one of the strongest upgrades in Patch 40 - it's able to handle entire rounds of Bloons and MOABs on its own once it grows a healthy spike pile.
There will be times during this run that heavy rounds of Bloons, MOABs, and DDTs make it to the end of the map, and it will appear that all hope is lost. But you can place your trust in Perma-Spike!
With that out of the way, we only have 1 more tower to place. And we can wait until Round 82 to place it.
After Round 81 - Before Round 82
You shouldn't need to take any actions after Round 58 to easily coast to Round 81. By now, you should also have around $55,000 gold.
Use this gold by placing a Monkey Ace in the center of the map and upgrading it to 5 / 2 / 0, or Sky Shredder in the top path and Spy Plane in the middle path. Then set the flight pattern to 'Figure Infinite':

Sky Shredder is an amazing tower for popping MOABs, DDTs, and the BAD on Round 100. Its main purpose for this run is to thin out the waves of Bloons and MOABs before they reach their demise from the Perma-Spike.
By upgrading the Ace to Spy Plane in the middle path, we're giving it the ability to hit DDTs as well, which will appear soon. Did you know that DDTs have 'Camo' properties?
End Game
After upgrading your Monkey Ace to Sky Shredder, you have won the game.
There are no actions needed for the rest of the run. Feel free to walk away from your computer and grab a cup of coffee - you'll likely win the run by the time you get back!
Conclusion
And that's it!
Feel free to check out our other challenge and map guides on BloonsGuide.com, or head over to the Tier Lists to see what towers work best to help you tackle your other CHIMPS runs.
