Welcome to the BloonsGuide.com guide to conquering Town Center on Alternate Bloons Rounds difficulty in Bloons TD 6!
Throughout this guide, you'll learn both how to beat Town Center on Alternate Bloons Rounds difficulty and learn a few basic tips and strategies you can use on any map to consistently tackle ABR - and even harder difficulties - elsewhere.
...but before we begin:
The strategy shared in this guide is by no means the best strategy, and many aspects can be improved. You'll even lose a few lives with this guide. Our goal is to show you what worked for us - we encourage you to experiment and improve!
This footage was recorded on BTD6 Version 39. If you find this strategy no longer works on future patches, please let us know!
Finally, this strategy was adapted from Player 老干妈 (Laoganma's) "Least Cost CHIMPS (LCC)" strategy on Town Center found on BTD6 Index.
With that out of the way, let's get started.
Early Game & Starting Towers
In classic BloonsGuide.com fashion, our first tower placed will be the hero Sauda.
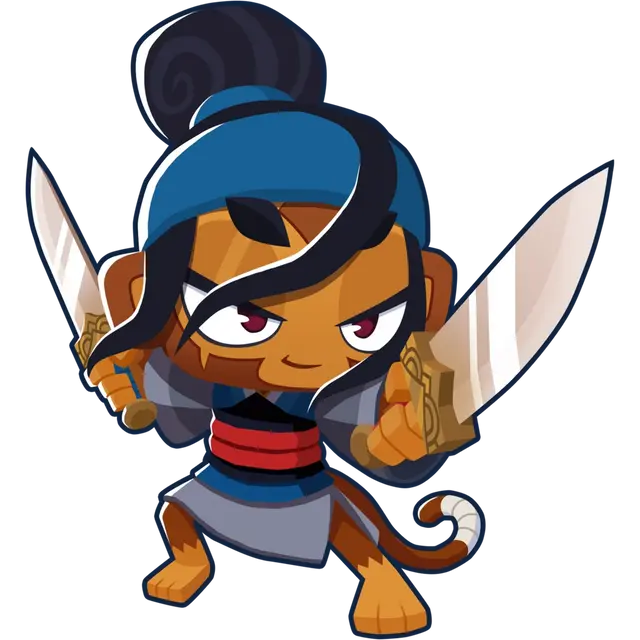
With a calm fury, Sauda can carve Bloons up with her twin razor-sharp swords.

$5,000
Sauda is a fantastic hero for beginner maps, as she has the ability to solo many of the early rounds and handle early Camo Bloon rounds in ABR difficulty.
Rounds 3 - 4
We'll start by placing Sauda at the end of the map near the final loop, like so:

You'll want to place Sauda near the left edge of this nook, leaving some room to the right for a Tack Shooter later in the game.
But be sure Sauda's attack radius still reaches the right side track, just like how you see in the image above.
Round 5
At the start of Round 5, place a Glue Gunner on the opposite side of the track to the left of Sauda.

We'll upgrade this Glue Gunner shortly to handle some of the early Lead Bloons that ABR throws our way.
Sauda can handle the Round 5 Camo Bloons just fine.
Round 7
At the start of Round 7 (or when you have enough gold), upgrade your Glue Gunner to 1 / 1 / 0, or Glue Soak and Bigger Globs.
Note: you may lose a few lives this round, but there's nothing to worry about, as we have 100.
Round 8
Once you have enough gold during Round 8, upgrade your Glue Gunner to 2 / 1 / 0, or Corrosive Glue.
Corrosive Glue will allow us to handle the Lead Bloons coming soon.
Round 12
At the start of Round 12, place a Wizard Monkey directly underneath your Glue Gunner, and upgrade it to 0 / 0 / 1, or Intense Magic.

This Wizard is important, as it has the ability to kill Camo Lead Bloons when upgraded.
The Intense Magic upgrade puts us closer to Monkey Sense, which gives Camo detection.
Round 13 - 14
At the start of Round 13, upgrade your Wizard Monkey to 0 / 0 / 2, or Monkey Sense.
Towards the middle of Round 14 (or when you have the gold), upgrade your Wizard Monkey to 0 / 1 / 2, or Fireball.
Now your Wizard has the ability to pop Camo Lead Bloons!
Note: You may lose a few lives on Round 15. Nothing to worry about.
Round 19 - 20
At the end of Round 19 and the start of Round 20, place two Tack Shooters - one directly to the right of Sauda, and one on the opposite side of the track to the right of the first Tack Shooter.
Then, upgrade the first Tack Shooter to 0 / 0 / 3, and the second Tack Shooter to 0 / 0 / 2.

The first Tack Shooter will be one of our main towers this game. We'll upgrade both Tack Shooters again shortly.
Round 22
Once you have the gold, go ahead and upgrade the second Tack Shooter to 0 / 0 / 3 (Tack Sprayer).
Round 26
At the start of Round 26, upgrade both Tack Shooters to 2 / 0 / 3 (second ability in the top path, Even Faster Shooting).
Round 30
Towards the start of Round 30, place a Monkey Village below Sauda and your first Tack Shooter that encompasses all the towers you have placed.

Then, upgrade the Monkey Village to 1 / 0 / 0, or Bigger Radius.
This Monkey Village will provide us with a ton of buffs to our towers throughout the entire game.
Round 32
Once you have the gold during Round 32, upgrade your Monkey Village to 1 / 0 / 2, or Monkey Commerce on the bottom path.
This will make other tower upgrades cheaper later in the game.
Round 34 - 35
Again, once you have the gold on Round 34, upgrade the Monkey Village to 2 / 0 / 2, or Jungle Drums on the top path.
Attack speed for the win!
Then, on Round 35, upgrade the Village again to 3 / 0 / 2, or Primary Training on the top path.
Round 37 - 38
During Round 37, place two Alchemists near the Village - one directly to the bottom right of the Village, and one on top of the first box near the house on the right.

Then, upgrade both Alchemists to 2 / 0 / 0, or Acidic Mixture Dip in the top path.
Finally, after gaining a bit of gold on Round 37 & 38, upgrade both Alchemists to 2 / 0 / 1, or Faster Throwing on the bottom path.
Note: You could probably save the gold here and be fine without this upgrade for a while, but we'll be proactive anyway.
Middle Game
During the middle game, we'll focus on buffing our towers further and gaining some MOAB popping power (as well as MOAB slows).
Round 40
On Round 40, upgrade both your Alchemists to 3 / 0 / 2, or Berserker Brew in the top path.
It may look like you're going to die here from the Reinforced MOAB, but your towers will pop it before it's too late and you'll come out with only a few lost lives.
Round 41
On Round 41, place an Ice Monkey above Sauda and your Tack Shooter, ensuring it's in range of your Monkey Village.
Then, upgrade it to 3 / 2 / 0.

Round 44,
At the very start of Round 44, upgrade your Ice Monkey to 4 / 2 / 0, or Embrittlement in the top path.
Round 47 - 48,
At the start of Round 47 (or when you have the gold during 47), upgrade your first Tack Shooter that's directly right of Sauda to 2 / 0 / 4, or Overdrive in the bottom path.
Now our Tack Shooter will start to do some damage!
Then, during Round 48 - as soon as you have the gold - upgrade your second Tack Shooter to 2 / 0 / 4.
Round 49,
Once you have the gold during Round 49, upgrade your first Alchemist to 4 / 0 / 1, or Stronger Stimulant in the top path.
We'll upgrade the other Alchemist shortly. These two combined with the Monkey Village will buff our others towers in the radius by a great amount!
This is especially important for our Tack Shooters. Since we chose to upgrade the top crosspath rather than the middle, our Tack Shooters lack range.
These two buffs will give these towers the range we lost by not upgrading the middle path.
Round 50 - 54
At the end of Round 50, you should gain enough gold to upgrade your second Alchemist to 4 / 0 / 1.
Round 51 - 53 should also give you enough gold to upgrade your Wizard Monkey to 0 / 1 / 4, or Necromancer: Unpopped Army.
This will give us both extra Camo Bloon detection as well as an army of Zombie Bloons for extra pops.
During Round 54, you can also upgrade your Wizard Monkey to 0 / 2 / 4, or Wall of Fire in the middle path.
Round 58
During Round 58, you should garner enough gold to afford our next tower:
Another Glue Gunner!
Place a Glue Gunner underneath your Wizard Monkey and slightly to the right.
Then, upgrade it to 0 / 2 / 4.

Relentless Glue will give us amazing slows on both MOABs and regular Bloons, giving our Tack Shooters more than enough time to shred anything in their vicinity.
This setup should carry you all the way to Round 70!
Late Game
Our current tower setup shreds, to say the least.
Our main focus now will be upgrading our current towers to carry us to the end.
Round 70
During Round 70, you should gain enough gold to upgrade your first Tack Shooter to The Tack Zone, or 2 / 0 / 5.
This is the tower's max upgrade.
Funny enough, this is our last upgrade of the game!
End Game
The Tack Zone in combination with Relentless Glue is enough to carry us through to Round 80, ending the game.
You should end the game with around $30,000 gold.
Of course, you can add a few more towers near the start of the map before Round 80 with your extra gold to speed things up, but it's not necessary.
Conclusion
This is by no means a perfect run. Of course it isn't - we lost lives during the run!
However, the guide above should be enough to secure you your first win on your way to CHIMPS difficulty.
We encourage you to experiment and improve upon this setup to see if you can conquer the map without losing any lives!
Thanks for reading. If you found this guide helpful, feel free to share it around for others who may be struggling with this map.
Finally, if you find that you are not able to beat the map using this guide, please let us know so that we can review further and update the guide!