Welcome to the BloonsGuide.com guide to conquering the map Tree Stump on Half Cash difficulty in Bloons TD 6!
Best of all: this guide requires no Monkey Knowledge, only 5 towers, and almost 0 micromanagement (apart from a couple of ability uses).
Throughout this guide, you'll learn both how to beat Tree Stump on Half Cash difficulty and learn a few basic tips and strategies you can use on any map to consistently tackle Half Cash difficulty elsewhere.
Note: This guide was recorded on BTD6 Patch 40. If you find this guide no longer works, please let us know!
Let's get started.
The Final Build
If you'd like to see the final Tree Stump Half Cash build now and reverse engineer it yourself, here's a screenshot along with the list of towers used in this guide:

- Sauda (Hero)
- Wizard Monkey (2x)
- Druid
- Glue Gunner
Early Game & Starting Towers
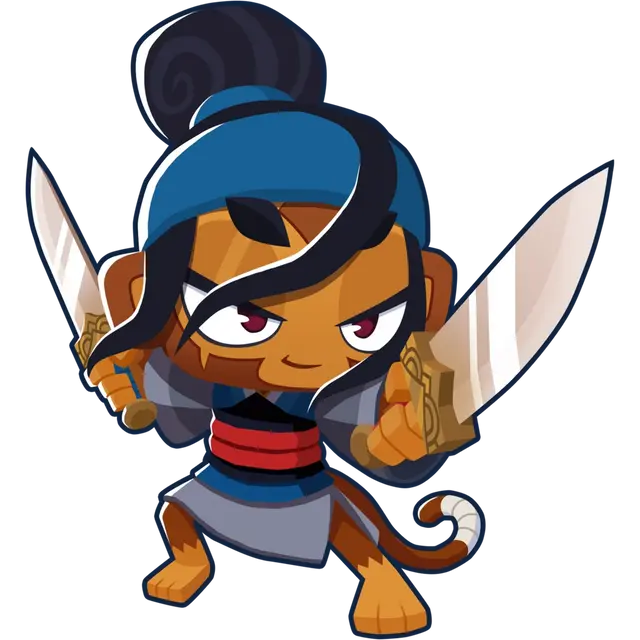
In classic BloonsGuide.com fashion, our hero for this run will be the hero Sauda.

With a calm fury, Sauda can carve Bloons up with her twin razor-sharp swords.

$5,000
But wait a second:
We can't place Sauda immediately due to our limited cash. So we'll have to start with something simpler.
Round 3
To begin, place a Dart Monkey near the starting loop of the map as you see in the screenshot below:

We're going to use this Dart Monkey to save up for Sauda. This placement allows us to conserve as many lives as possible in the early game by giving the Dart Monkey multiple opportunities to attack Bloons.
Round 4
Towards the start of Round 4, upgrade your Dart Monkey to 1 / 0 / 0.
You'll leak a few Bloons on this round. But don't worry - we have plenty to spare.
Round 5
At the start of Round 5, upgrade your Dart Monkey to 1 / 1 / 0.
After Round 8 - Before Round 9
You should have $355 gold at the end of Round 8.
Since your Dart Monkey is worth $333 gold, we can now sell the Dart Monkey and place Sauda near the first loop of the map as you see in the screenshot:

I placed Sauda during the start of Round 9 in the screenshot, which was a mistake. You can do it before.
Sauda can easily solo many of the early rounds by herself, so we're going to let Sauda farm gold for a bit.
Round 12
Note: pay close attention to the placement of the tower on this round.
During Round 12, you should gain enough gold to purchase a Wizard Monkey. Once you do, place a Wizard Monkey towards the top side of the tree stump. Make note of the fact that the Wizard's range is able to reach the top track near the end of the map with this placement.

The Wizard should be able to hit the Bloons that sneak past Sauda this round. You'll probably still leak one, but it's OK.
We'll upgrade the Wizard's range later for more track coverage.
Round 19
Towards the end of Round 19, upgrade your Wizard Monkey to 0 / 1 / 0, or Fireball in the middle path.
We chose to make this upgrade towards the very end of the round to catch a Green Bloon that snuck past our defenses, but you can likely make the upgrade sooner (maybe at the start of Round 19) to prevent any close calls.
Round 21
As soon as you have enough gold on Round 21, upgrade your Wizard to 0 / 2 / 0, or Wall of Fire.
This setup will allow us to coast through a good number of rounds and will get us closer to Dragon's Breath, a crucial upgrade in this run.
Round 36
As soon as you have enough gold on Round 36, upgrade your Wizard to 0 / 3 / 0, or Dragon's Breath in the middle path.
Dragon's Breath is an amazing upgrade on its own. When combined with Sauda, however, it's even better.
Sauda's Level 11 upgrade allows her to do more damage to Bloons / MOABs affected by damage-over-time abilities:
"Gains extra damage versus "harmed" bloons, inflicting +2 damage to Bloons or +10 damage to MOABs with her main swords. Bloons affected by any valid lingering status effect (e.g. slowdown and/or a damage-over-time), excluding stuns and Bloon Bleed, triggers the aforementioned damage bonus. Can stack with the bonus stunned bloon damage."
Dragon's Breath sets Bloons and MOABs on fire, which is a damage over time.
After Round 39 - Before Round 40
Before Round 40 begins, place a Glue Gunner above Sauda and upgrade it to 0 / 1 / 2:

After placing the Glue Gunner, upgrade your Wizard Monkey to 0 / 3 / 2. This will give us some much-needed range as well as Camo Detection.
Finally, place a Druid under Sauda on the other side of the track:

You should be able to take the Round 40 MOAB down with ease.
Round 49
Towards the start of Round 49, upgrade your Druid to 1 / 4 / 0, or Hard Thorns in the top path and Jungle's Bounty in the middle path.
Druid of the Jungle plus Jungle's Bounty is an insanely powerful skill combination when paired with Hard Thorns, which allow the Druid to pop Lead Bloons. And since this map is long and winding, it gives the Druid plenty of time to pop Bloons anywhere on the map.
Finally, Jungle's Bounty gives us an extra source of cash and extra lives. Use the Jungle's Bounty ability whenever it comes off cooldown.
After Round 55 - Before Round 56
Before the start of Round 56, place another Wizard Monkey on the opposite end of the tree stump from your first Wizard and upgrade it to 0 / 2 / 4.
Then, set the spawn location of your Undead Bloons on the track to the right of your first Wizard Monkey:

This Wizard provides a few things for us:
- The Shimmer ability reveals Camo Bloons for our Glue Gunner and Druid
- Wall of Fire provides some extra damage around the first loop of the map
- Necromancer: Unpopped Army provides a nice extra source of damage as Bloons loop around the tree stump
And that's the final tower for this run! The rest of this guide will be tower upgrades and a few instances of ability usage.
Continue using your Jungle's Bounty ability off cooldown for the extra gold.
Round 60
At the start of Round 60, upgrade your Glue Gunner to 0 / 1 / 3, or MOAB Glue in the bottom path.
In a normal game mode, we'd have more towers and upgrades to deal with Bloons and MOABs. In Half Cash, however, we don't have that luxury.
MOAB Glue (and Relentless Glue, which we'll get later) allows us to supplement our lack of damage from Half Cash by giving Sauda and our Fire Wizard more time to hit MOABs and Bloons. The MOAB slow plus the damage over time from Dragon's Breath plus Sauda's increased damage to slowed/DOT'd MOABS makes for a nasty combo.
MOAB Glue and Relentless Glue are also two fantastic upgrades on their own. Try using them in more of your games!
Round 67
After the initial wave of MOABs and Bloons on Round 67, upgrade your Glue Gunner to 0 / 2 / 4.
Round 74
As soon as you have enough gold on Round 74, upgrade your first Wizard Monkey to 0 / 4 / 2, or Summon Phoenix in the middle path.
Round 78
There is a nasty final wave of Ceramic Bloons at the end of Round 78, and it's likely they'll make it past your line of defense in the middle of the map.
As the final wave of Round 78 Ceramics make progress towards the end of the map, use Sauda's Leaping Sword Attack. They should be weakened significantly by the time they loop back around to the start of the track, allowing Sauda and your Druid to finish them off.
Round 80
At the start of Round 80, use your Summon Phoenix ability.
Then, use Sauda's Leaping Sword Attack on the ZOMG as soon as you're able to. This should lead to an early popping of the ZOMG.
And that's it! Congratulations on your Half Cash win on Tree Stump.
Conclusion
And that's it!
Feel free to check out our other challenge and map guides on BloonsGuide.com, or head over to the Tier Lists to see what towers work best to help you tackle your other Half Cash / CHIMPS runs.
